
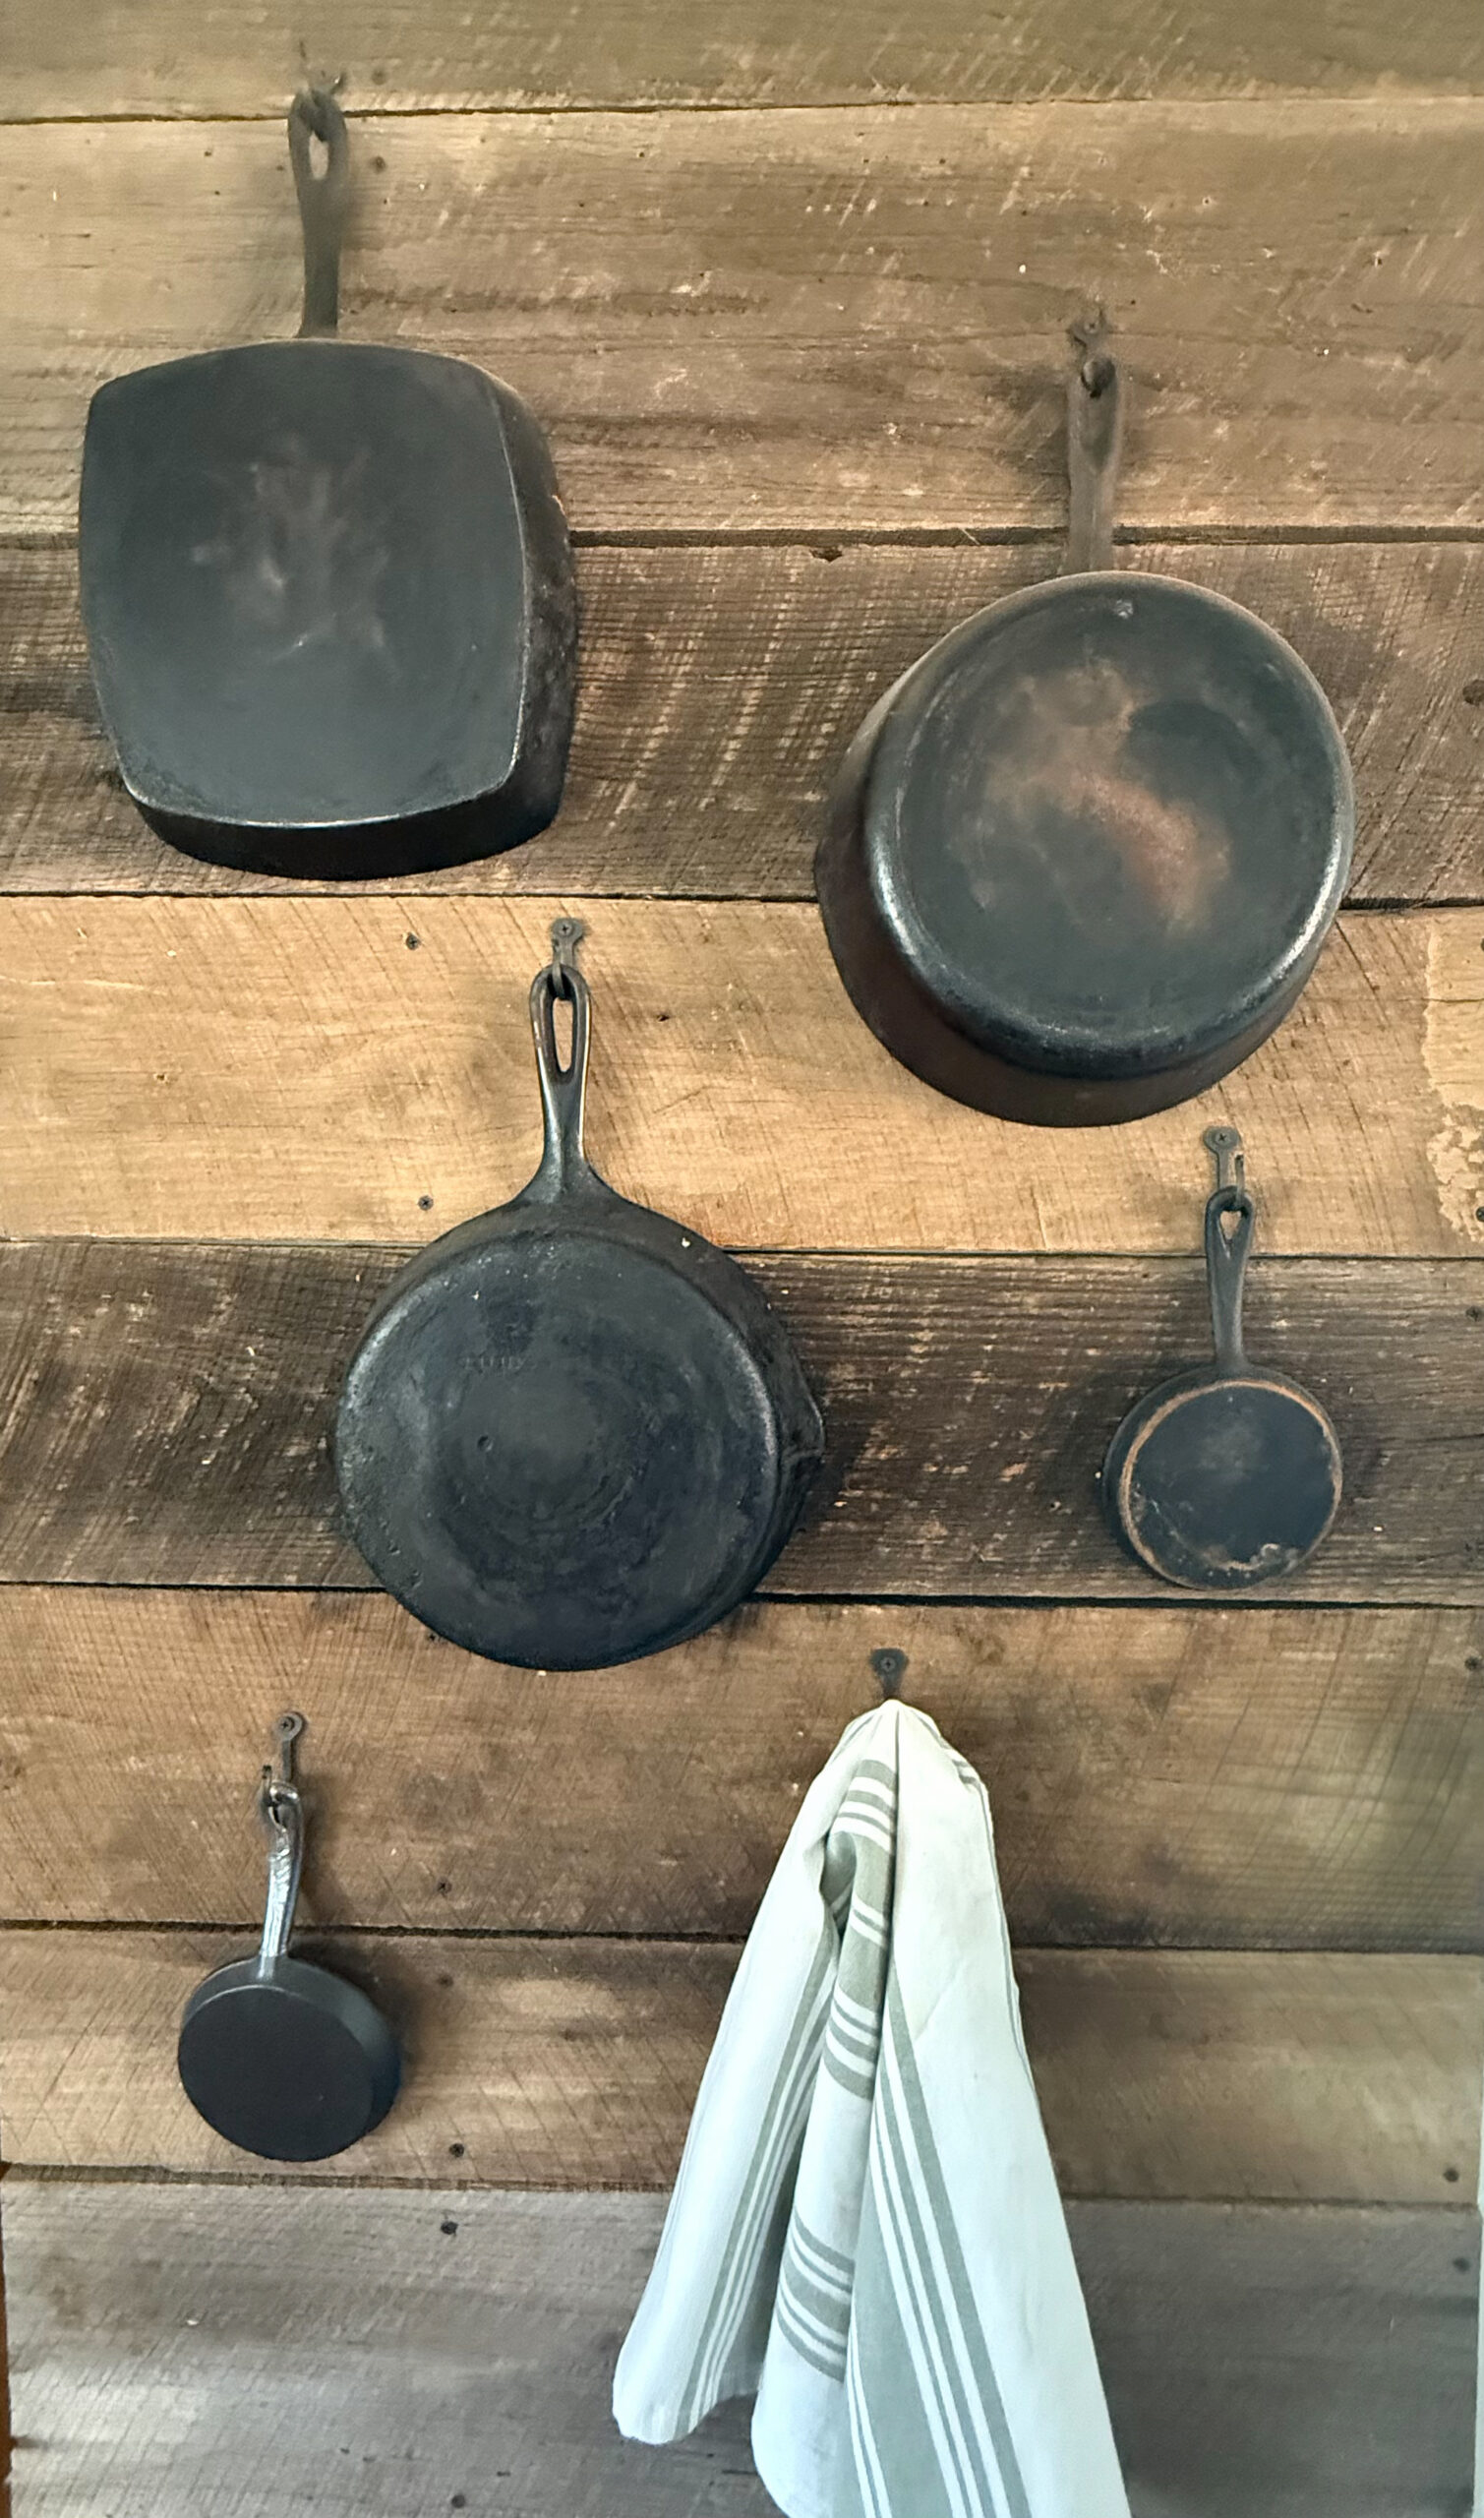
I love reviving old, forgotten treasures into something magnificent. And what better example than the classic cast iron pan? Its snowy and freezibv for many of us today, so lets do a project!
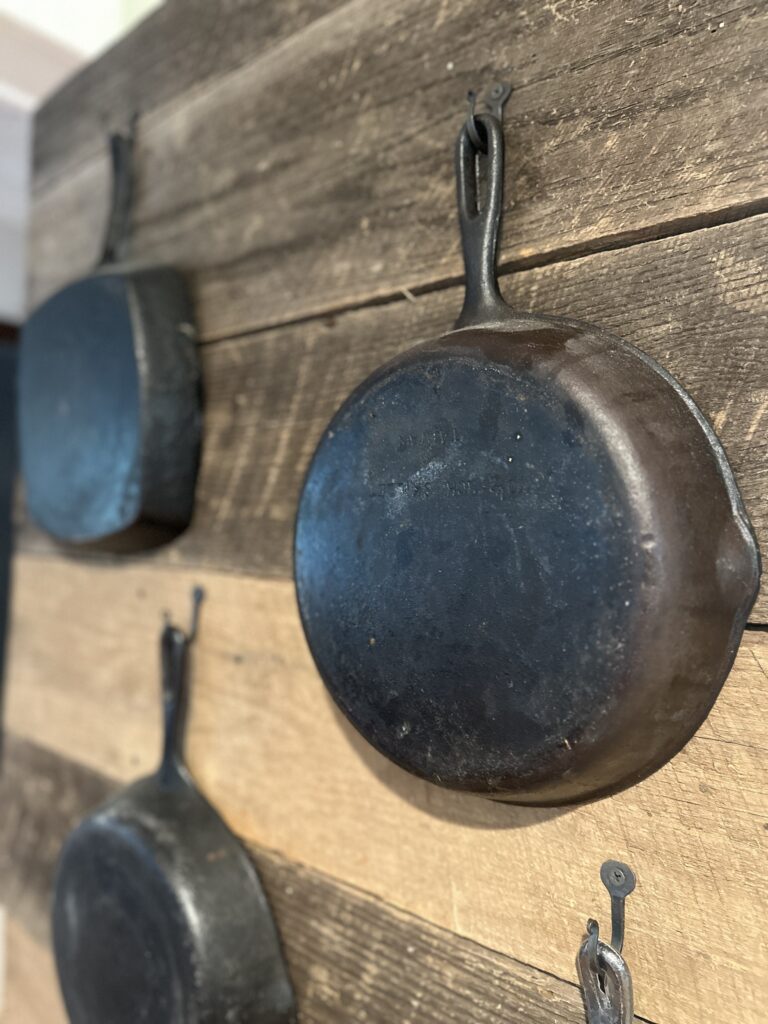
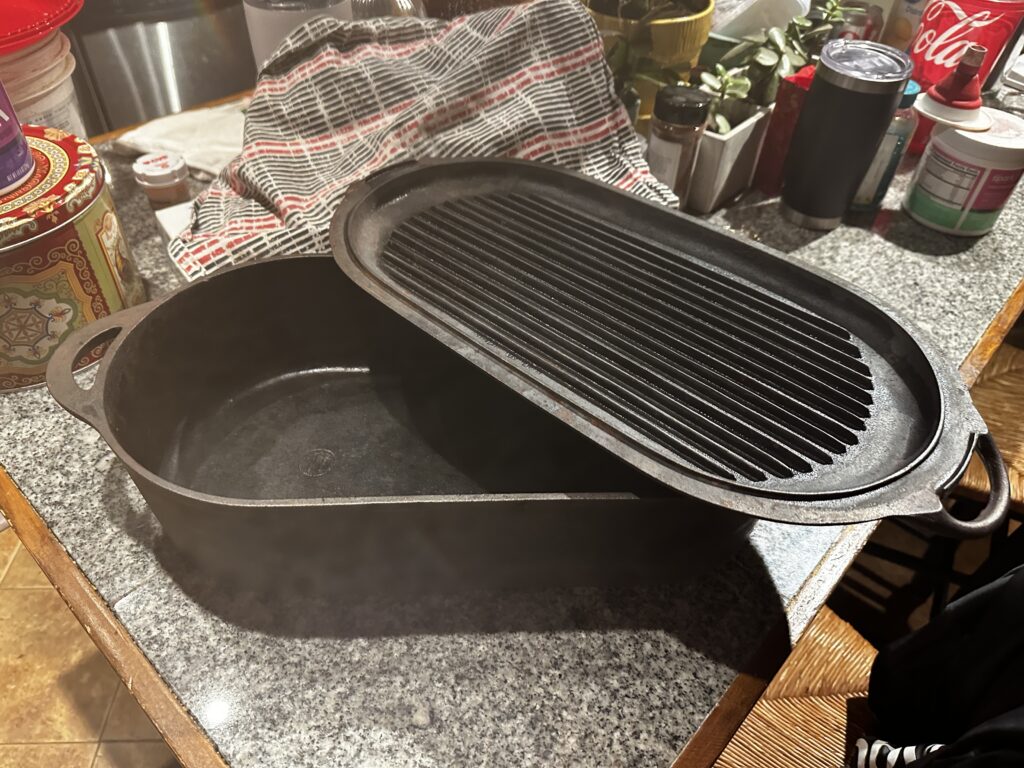
Our friend Chris often brings me what he calls “treasures”, saying, “I bet Jules can do something with this”. He’s rarely wrong. Most recently, he delivered a rusty but beautiful old fish fry cast iron pan. After some TLC, I’ve turned it into a kitchen gem again. Here’s how you can do the same with your cast iron finds:
What You’ll Need:
- A rusty cast iron pan
- Brillo pad or stainless steel scrubber
- Mild dish soap
- Clean, dry cloth or paper towels
- Vegetable oil or shortening
- Oven
Step-by-Step:
1️⃣ Scrub the Rust Off: Using your Brillo pad or stainless steel scrubber, scrub off all the rust you can. This is the one time it’s okay to use soap on your cast iron! Remember, it’s fine if some character remains – we’re not aiming for a brand-new look. The charm is in its history!
2️⃣ Dry It Thoroughly: After scrubbing, rinse and make sure to dry your pan well. Never leave cast iron soaking in water as it promotes rust.
3️⃣ Oil It Up: Coat the entire pan – inside and out, including the handle – with a thin layer of vegetable oil or shortening. I actually use avocado oil. It has a high smoke point and makes a tough non-stick surface because it takes to the cast iron so well.
4️⃣ Heat It in the Oven: Place your oiled pan upside down in a pre-heated 400°F oven (You do not want to let oil pool in the bottom or it will get sticky). Put a sheet of aluminum foil or an oven-safe tray on the bottom rack to catch any drips and bake the pan for an hour.
5️⃣ Cool Down: Turn off the oven and let the pan cool down inside. This process helps the oil polymerize, forming a new protective and non-stick seasoning layer.
6️⃣ Repeat if Necessary: For extra protection or a new pan with no curing at all, you might want to repeat the oiling and heating process a couple of times.
And there you have it! Your once-forgotten cast iron pan is now ready to be the star of your kitchen once again. Remember, each piece has its story, and by reviving it, you’re adding to its rich history so love it well and pass it on.
Happy cooking and treasure hunting!
castiron #himestead #farmstead #castironrestoration
Want to keep reading? Try An Ode to My Dad: Fun Finds, or Tips for Scoring Vintage Wicker Treasures.


Written by
Lane and Jules Morris
Authors and University of Tennessee faculty writing from our farm in East Tennessee about gardening, the farm kitchen, faith and designing a flourishing life at any age. More about us
